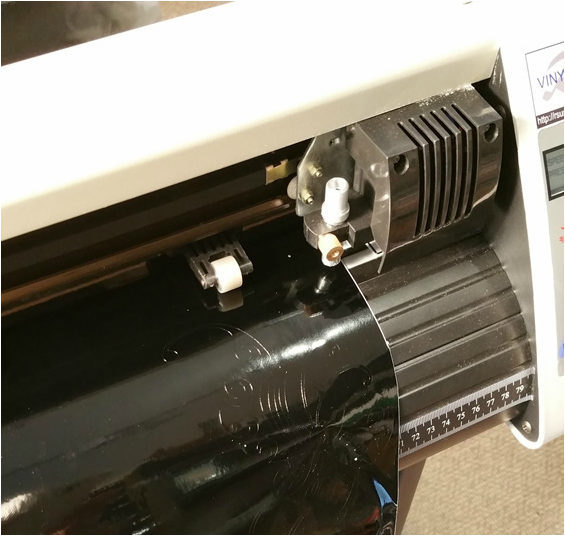
At CPG we own a vinyl cutter so this step is very easy for us. Some of you may have Cricut machines that can cut vinyl. If you don't have access to a vinyl cutter you can hop on the internet and see where the nearest sign making company is. Most towns/cities of all sizes have someone who cuts vinyl letters for shop windows, signs, banners etc. It is usually not very expensive to get an image cut. Another option is to walk into their shop and simply ask to buy a small amount of vinyl and hand cut your own stencil using an x-acto knife.
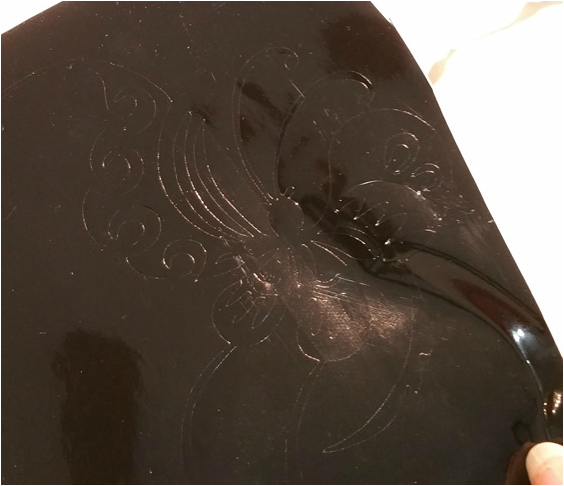
This is how it looks when it has been cut but not "weeded".
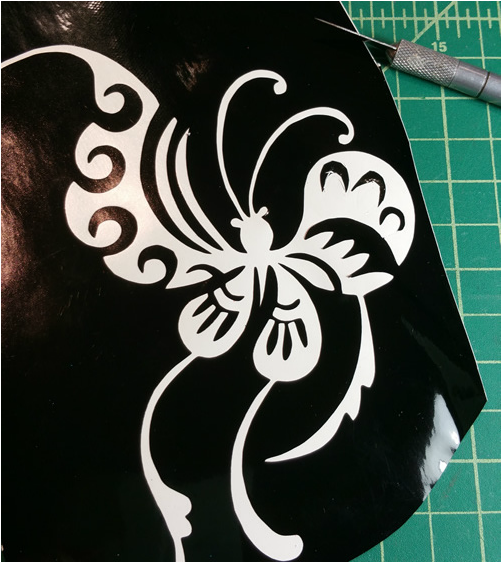
When you "weed" your design remember that you are keeping the background and taking out the image. If you have a professional sign maker weed for you be sure you tell him what to keep and what to pull out. Sign makers are used to keeping the image and tossing the background (you need the reverse).
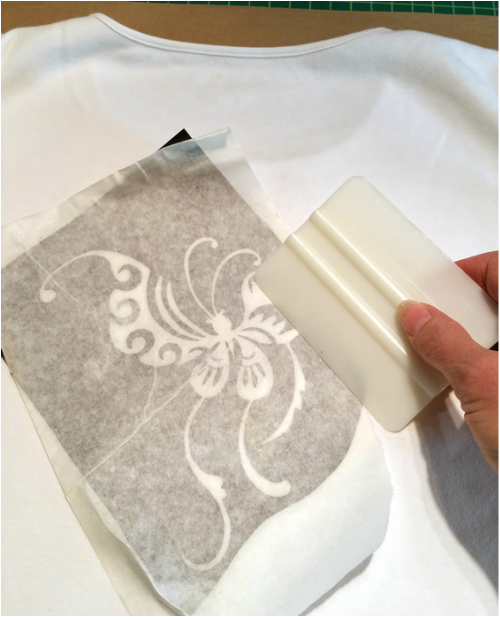
If you mount your own stencil you will need some transfer tape. This is something the sign shop will be able to provide to you if you do not have any. You can also use painters tape if your design is not too delicate. Note: Be sure to pre-wash your shirt. You do not want to deal with any shrinkage.
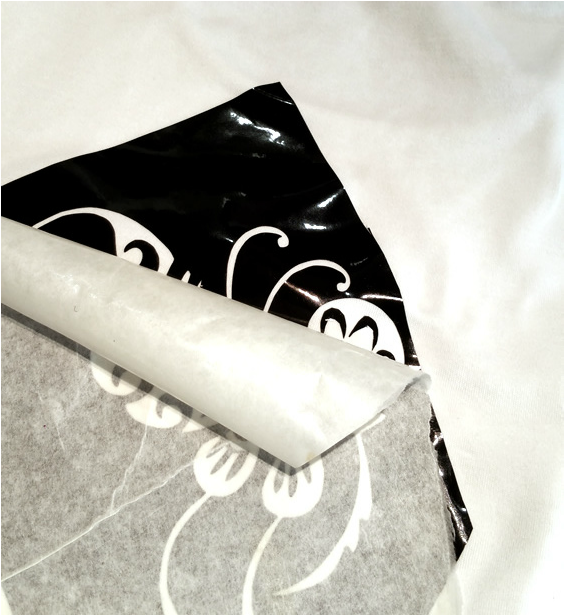
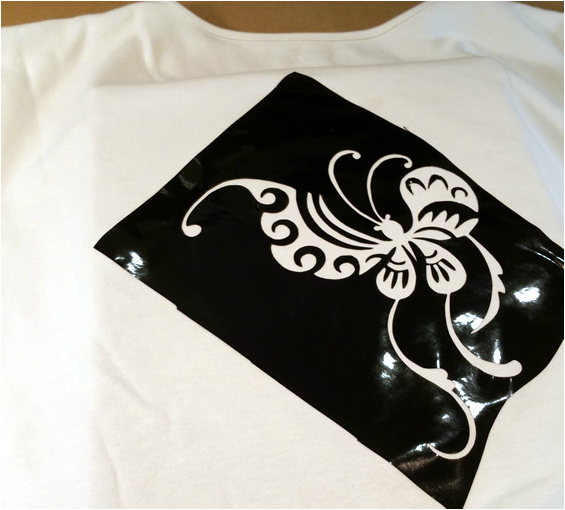
Peel off the white backing paper to expose the sticky back. Apply to your t-shirt. Place it right the first time. You will not have a second chance. If you get it wrong you will need to start over! Press the stencil hard into the shirt to make sure it sticks really well. Then carefully peel off the transfer paper. You are now ready for glue.
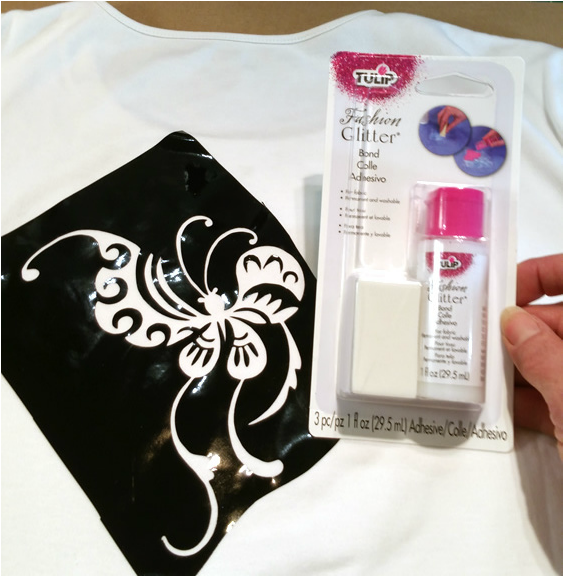
For this t-shirt we have chosen to use Tulip Glitter Bond. It is a sponge on (or brush on) glue that is great for t-shirts.
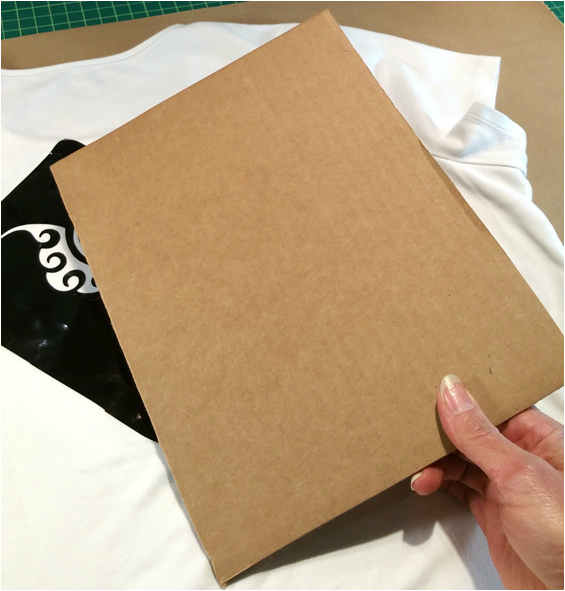
Before you start be sure to put a board between the front and back of your shirt. Make sure you cover the board with tin foil or cling wrap. You do not want the cardboard getting glued to your t-shirt.
Having the board in the shirt also makes it a nice smooth surface to work on.
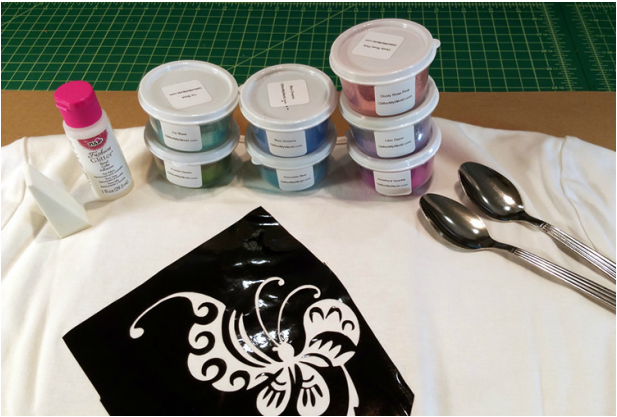
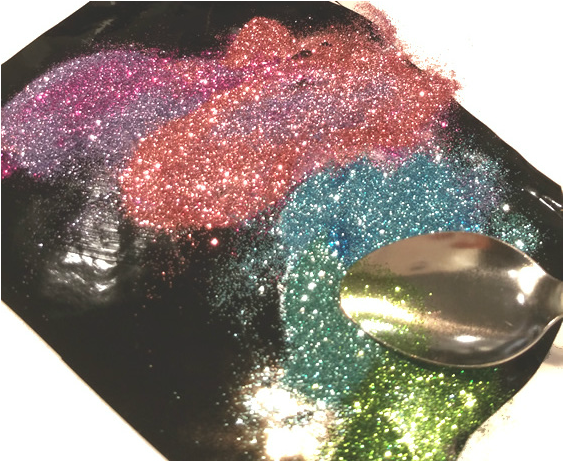
Here are the polyester metallic glitters we have chosen. We will be applying with metal spoons. Many people prefer plastic spoons. Use Poly Flake glitters. Craft Glitters will not wash well and may bleed color on your shirt.
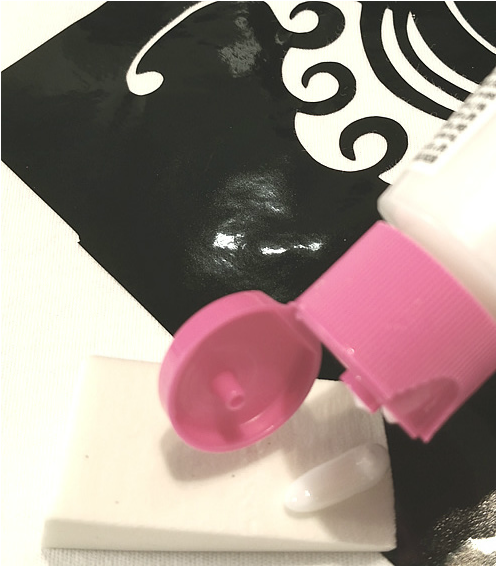
Apply the glue to the sponge (or grab a brush).
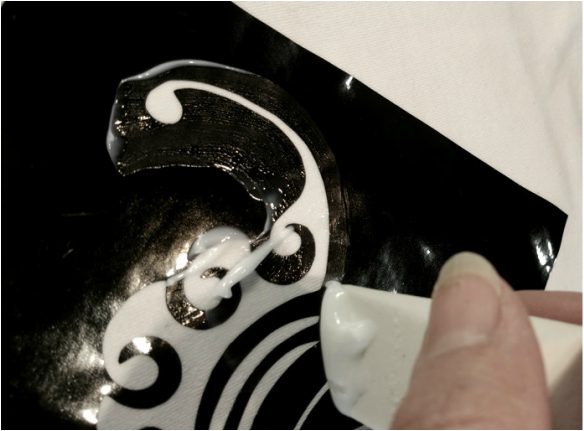
Apply the glue to the design. If your design is small then cover the whole design at once. If you have a large design you may want to do it in sections so the glue does not dry before you get all the glitter on.
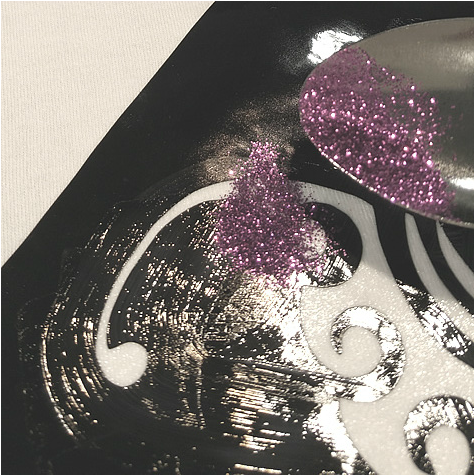
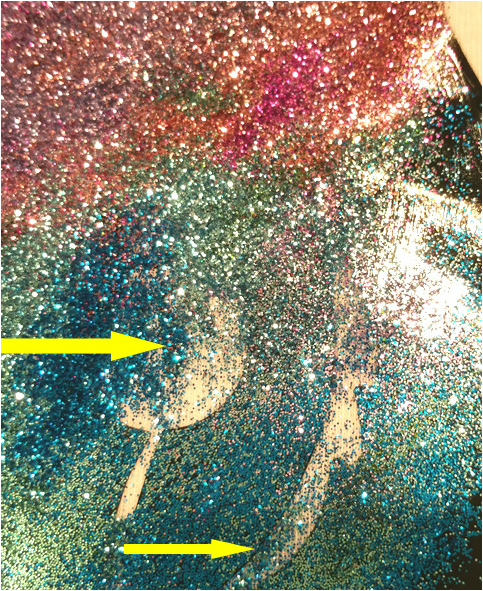
Here we begin to apply the glitter. If you need to do exact coverage (like an eye or a tiny detail), you can apply the glitter with a dry brush in that area. We did not have any fine details so we spooned all the glitter on.
Once the glitter is on we used the back of the spoon to press it into the glue.
We then tapped off the extra and discovered that we missed some spots with the glue! We went back in with some glue on the sponge and then added more glitter. It worked fine. You could also go in with a brush and glue if it was a very small spot.
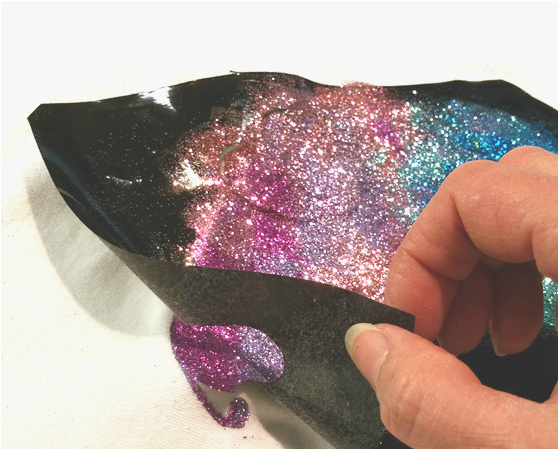
We then peeled off the stencil. If this is your first design and experience with vinyl stencils you might want to keep your design simple with less delicate details. We have done this a lot so we went a bit wild with the design.
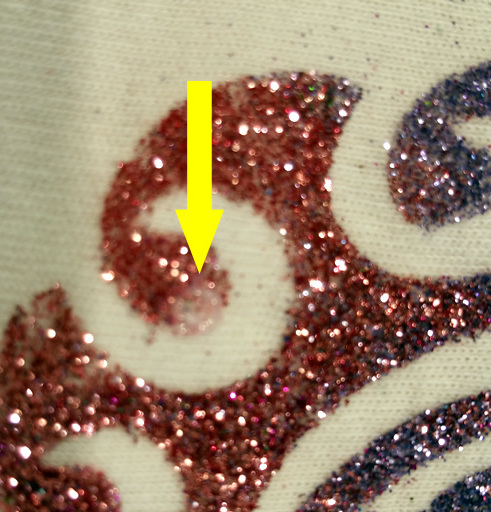
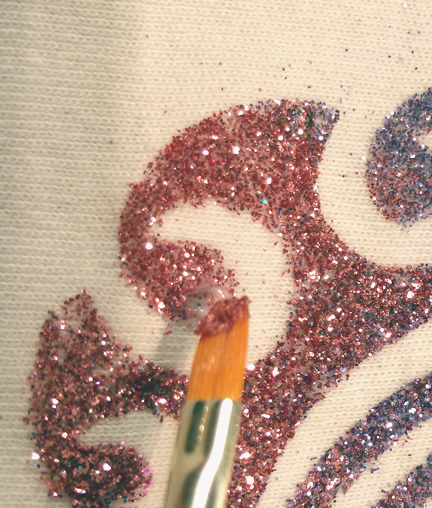
Looks like we missed a small spot!
We took some of the glue and mixed in some of the pink glitter. We then applied the mix to the area and it worked great.
This is the final design all done. It turned out really well. The loose glitter you see on the background will go away after it has been washed. Hope you give it a try!


 RSS Feed
