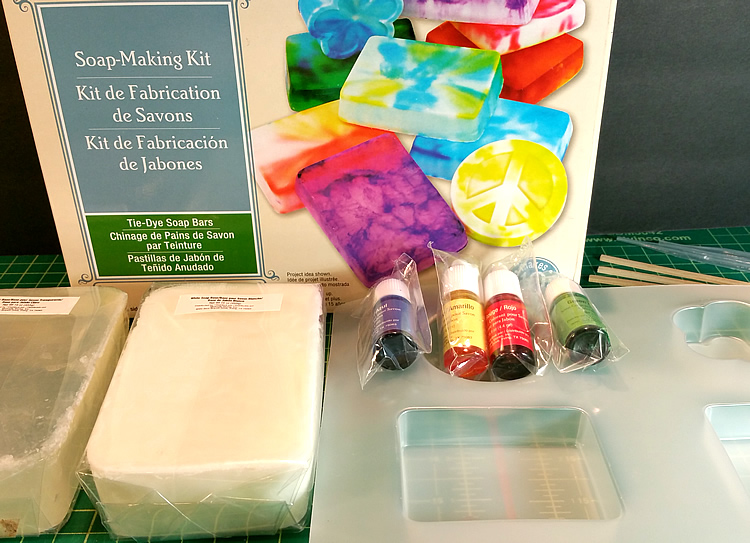
If you are new to soap making, buying a kit is a great way to start. This kit came from Michaels and was not very expensive. It came with a set of four molds, two soap bars, skin safe colorants and a few more odds and ends. You do not need a kit for this project by any means. If you skip getting a kit you will need:
1. Soap bar (clear or white)
2. Polyester Glitter Fine or Ultrafine flakes (cosmetic grade is smart)
3. Flexible Soap Mold
4. Stir sticks, microwave safe bowl
Optional: Colorants and/or scents
1. Soap bar (clear or white)
2. Polyester Glitter Fine or Ultrafine flakes (cosmetic grade is smart)
3. Flexible Soap Mold
4. Stir sticks, microwave safe bowl
Optional: Colorants and/or scents
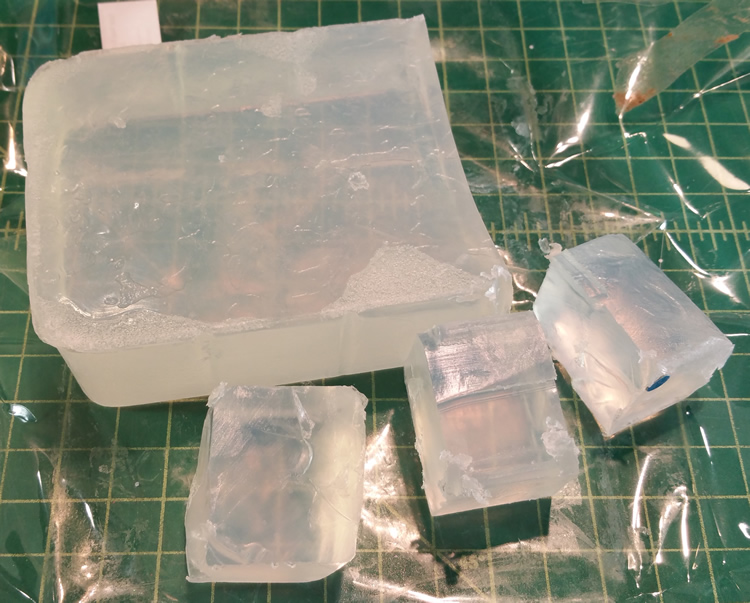
The kit came with white soap and clear soap. For this project we decided to go with the clear soap so you could really see the glitter throughout the bar. We cut the soap bar into 1 inch cubes.
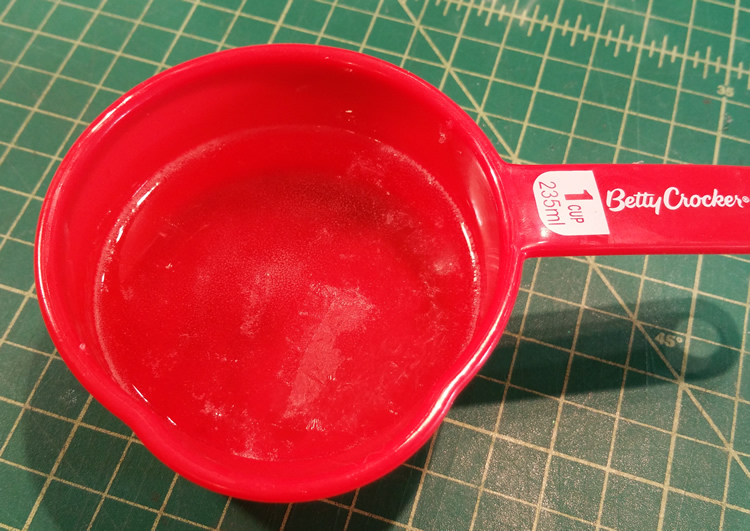
We placed the cubes into a measuring cup that had a pour spout. We heated it in the microwave for about 30 seconds. You can also use a double boiler if you do not use microwaves.
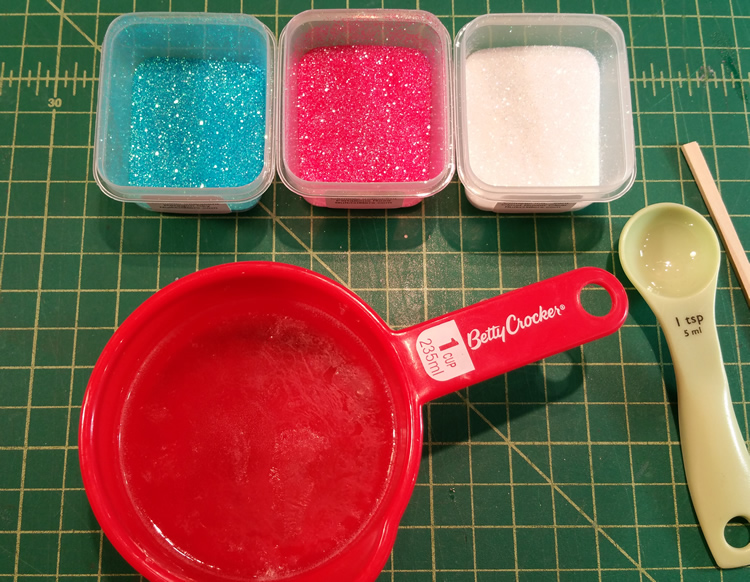
We pulled out the new Cosmetic Iridescent Glitters that we sell. We went with Cloud Buster Clear first.
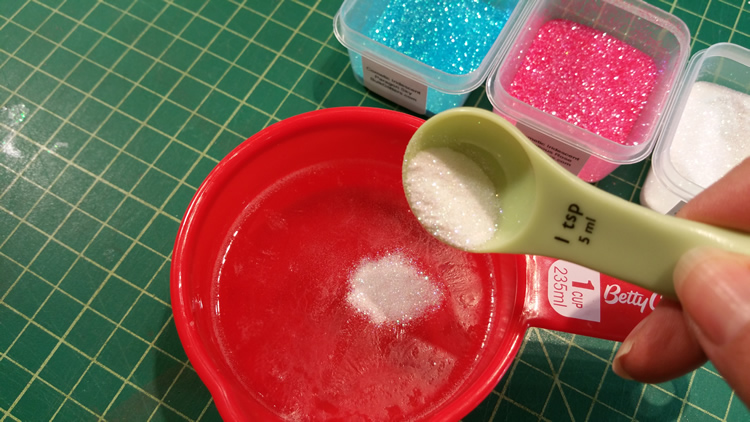
We used about a 1/4 teaspoon of Ultrafine Cosmetic Iridescent Cloud Buster glitter for one bar of soap. We then mixed it with a stir stick. Do this process fast as the soap likes to set up quickly as it cools.
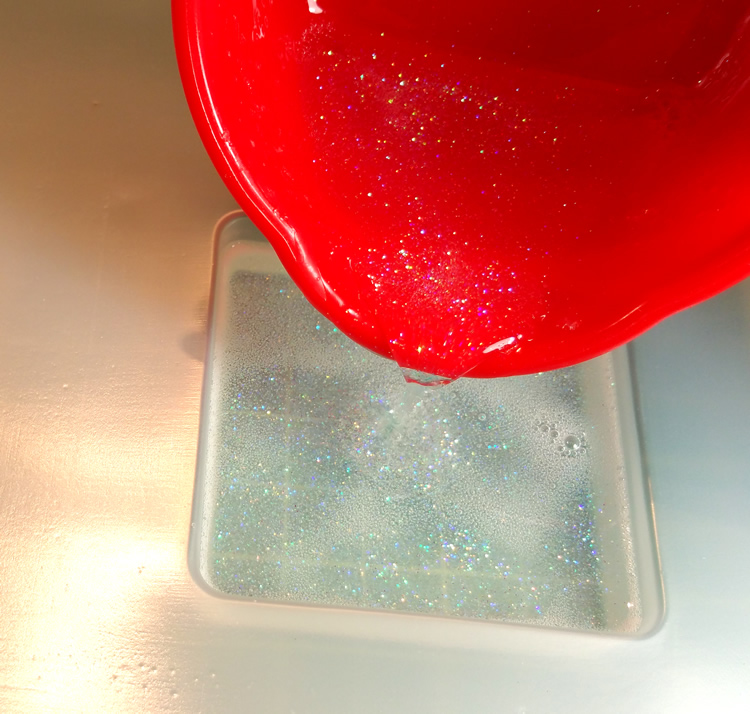
We then poured the mix into the mold. It took about 30 minutes to cool. If you are in a hurry you can place the mold in a cool space or the refrigerator.
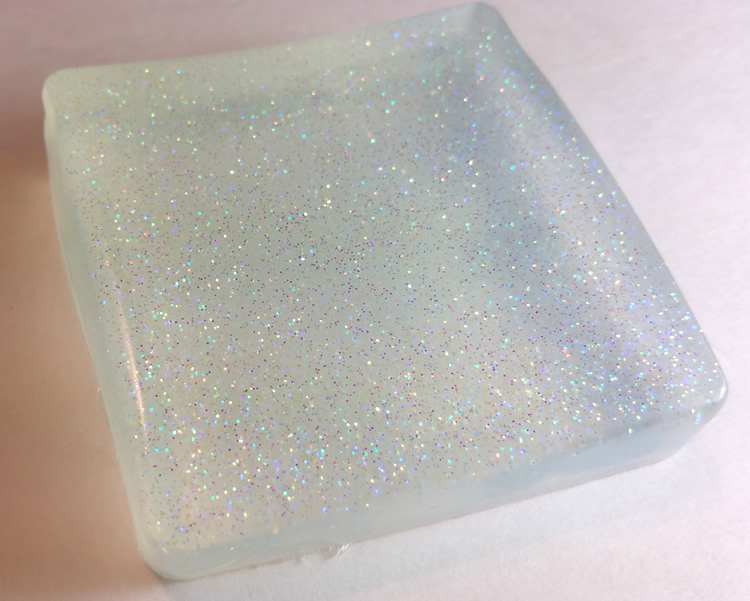
Here is the bar popped out of the mold.
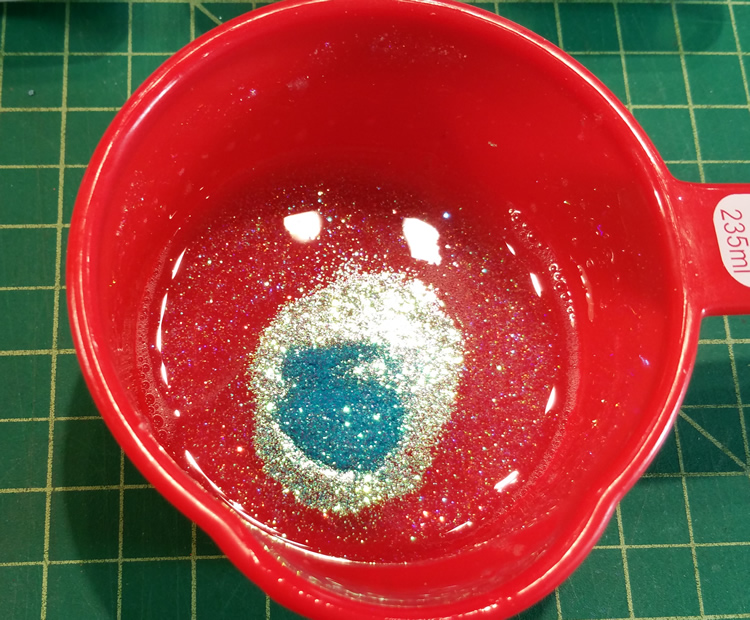
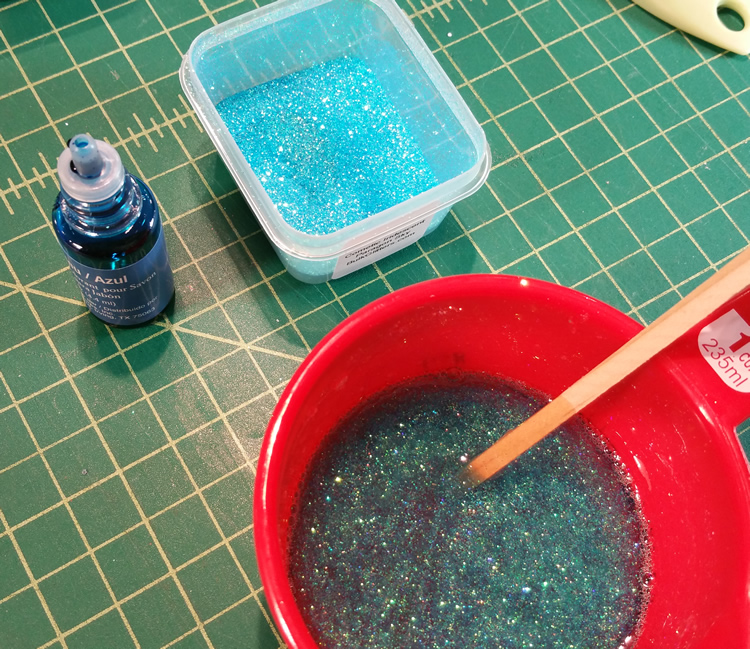
For the next bar we heated up more soap, added a 1/4 teaspoon of the Ultrafine Cosmetic Iridescent Paragon Sky.
We also took one of the colorants that came in the kit and added 1 drop. We mixed it all up quickly.
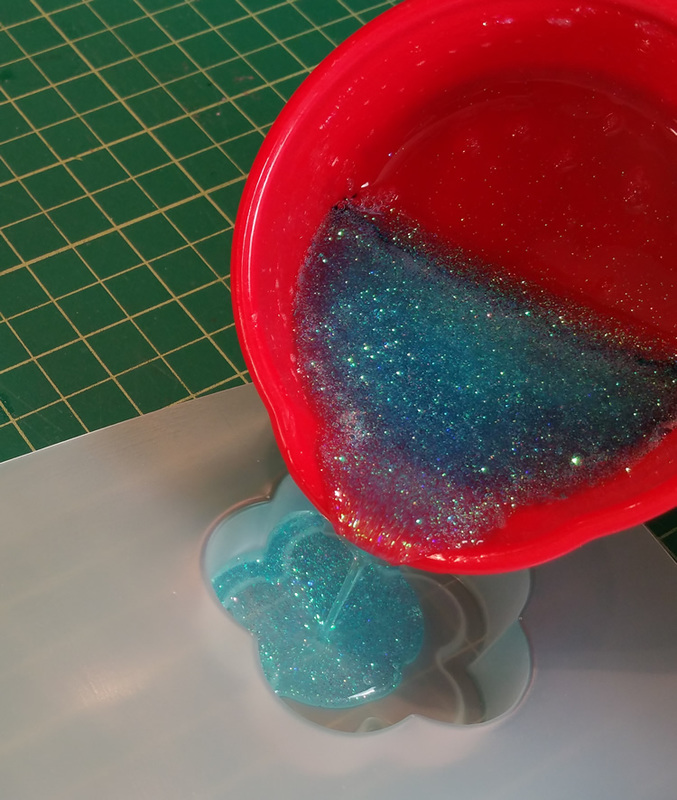
We then poured it into the flower mold that came in the kit.
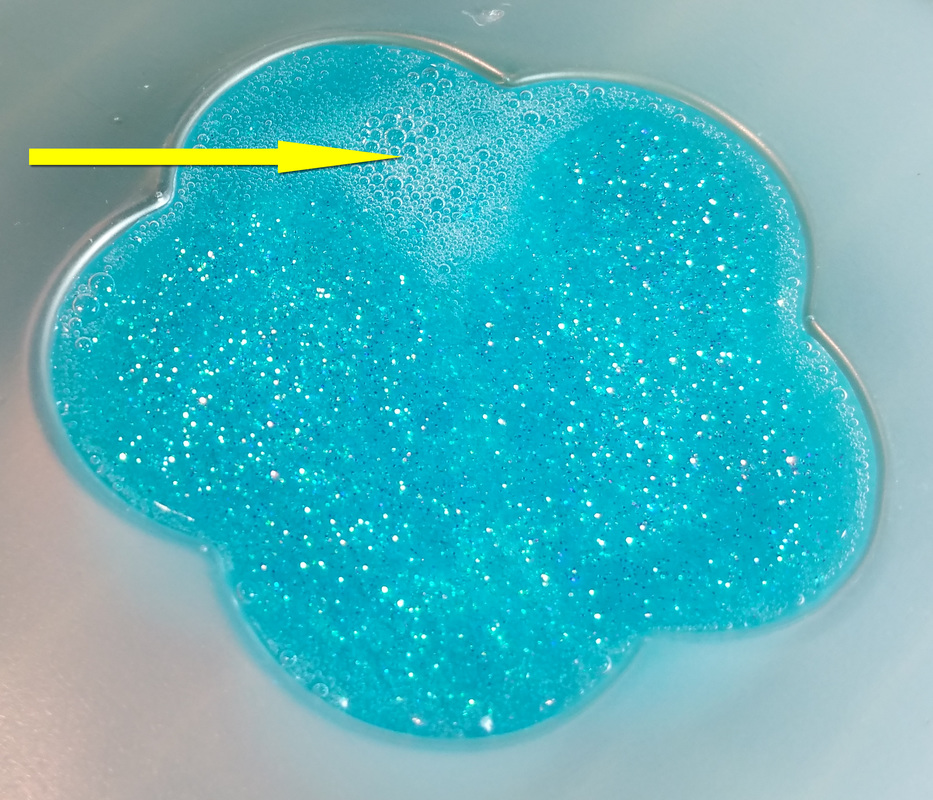
See where the yellow arrow is pointing to? Those are air bubbles that can form on the top. Avoid these by careful stirring and pouring or spray a tiny bit of rubbing alcohol on them to make them pop.
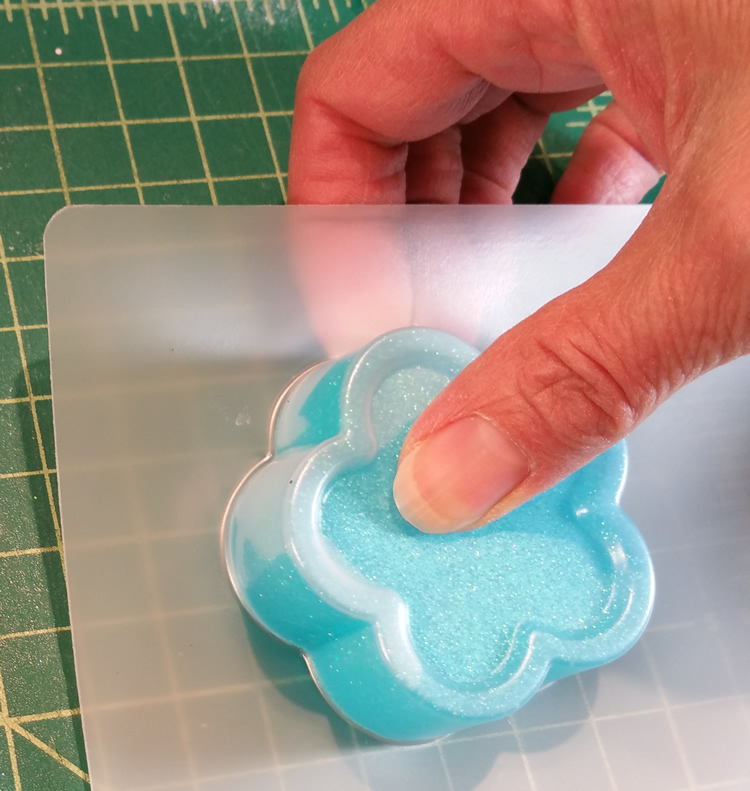
Soap needs to be made in flexible molds so you can get the soap bars out. We had to press and work a little bit to get the soap to pop out. If you do not have a flexible mold a bit of cooking spray seems to work (test your spray first before doing a lot of them).
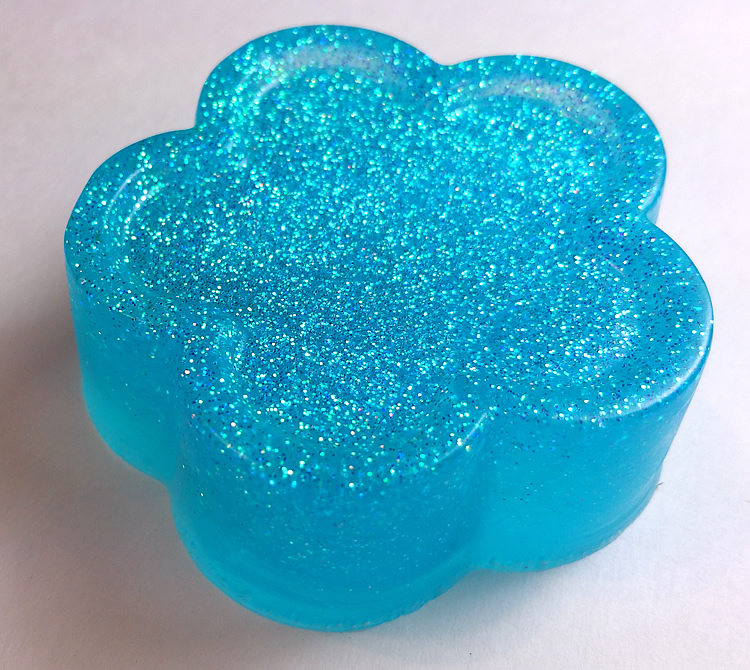
Here is the second soap out of the mold. The glitter settled a bit at the bottom (which is the top of the soap bar) a bit. However, there is still plenty throughout the bar.
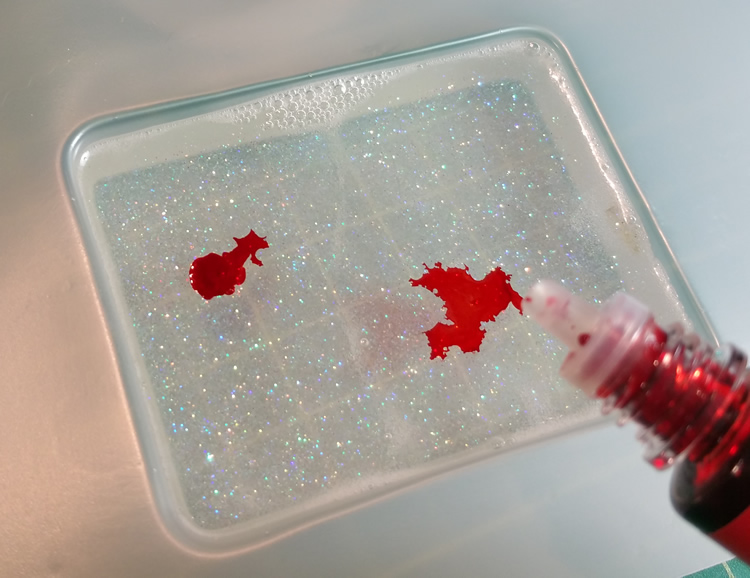
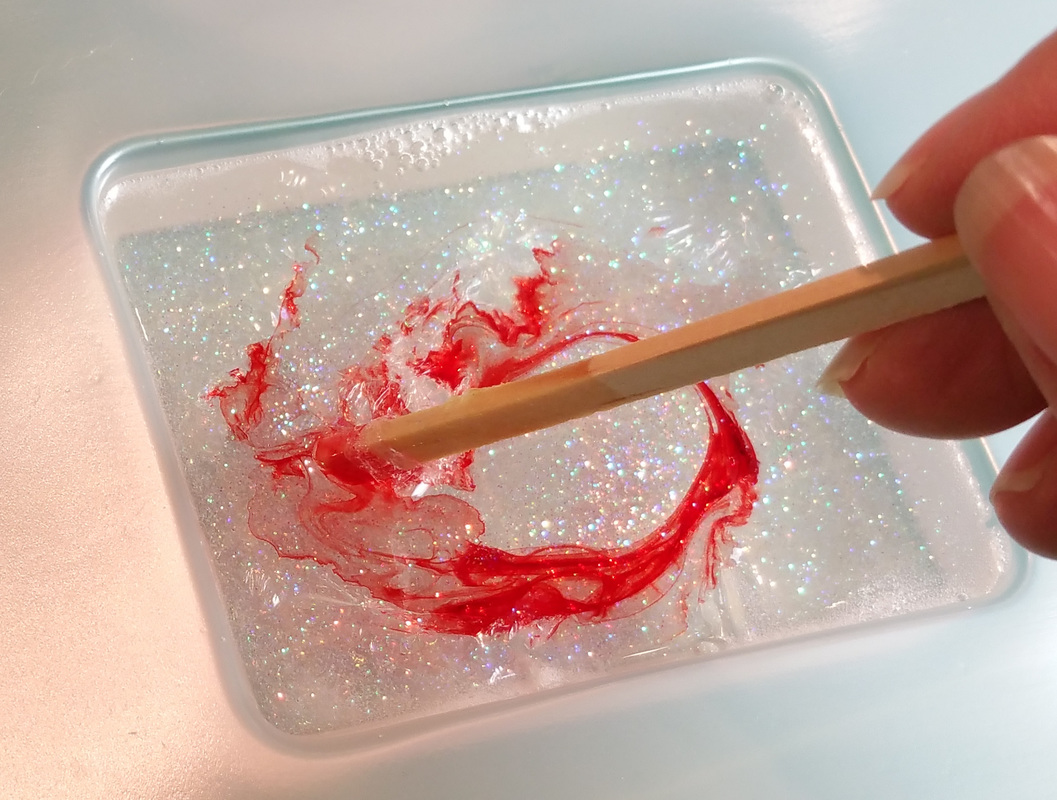
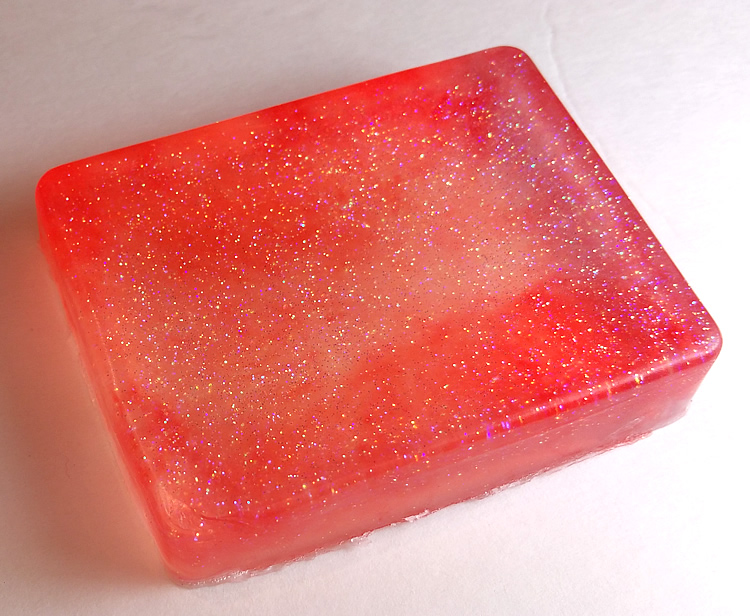
In this version, we heated the soap, added glitter and we then poured the soap into the mold. Then we quickly added colorant when it was in the mold. By doing this, we hoped to control the colorant and get a more uneven look. You could do this effect with multiple colors and get a tie dye effect easily.
Stirring in the colorant.
Here is the finished bar.
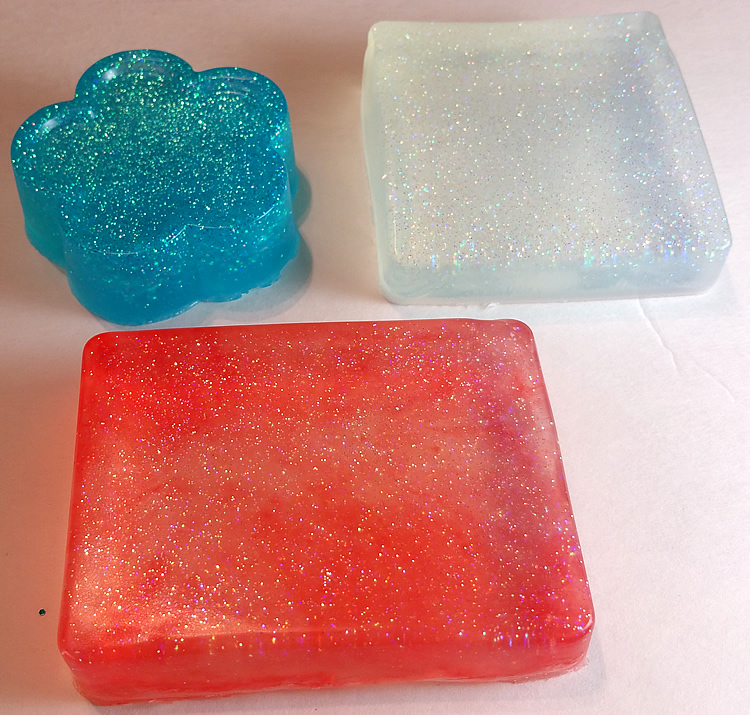
These three bars took us about 40 minutes to make. It was not complicated at all using the kit and was quite fun. Without the kit, you would want to make sure you had all the supplies you needed, but other than that it would be super easy. For kids, you could not only use glitter, but embed plastic charms or figures in the bars. A friend of ours said she put ants and spiders in a bar once for Halloween decor.
Final Note: We used one of these bars to wash our hands. We were very surprised that no glitter ended up on our skin. It washed away down the sink with the soap! The bar looks beautiful sitting by the sink, sparkling away.
Final Note: We used one of these bars to wash our hands. We were very surprised that no glitter ended up on our skin. It washed away down the sink with the soap! The bar looks beautiful sitting by the sink, sparkling away.
 RSS Feed
