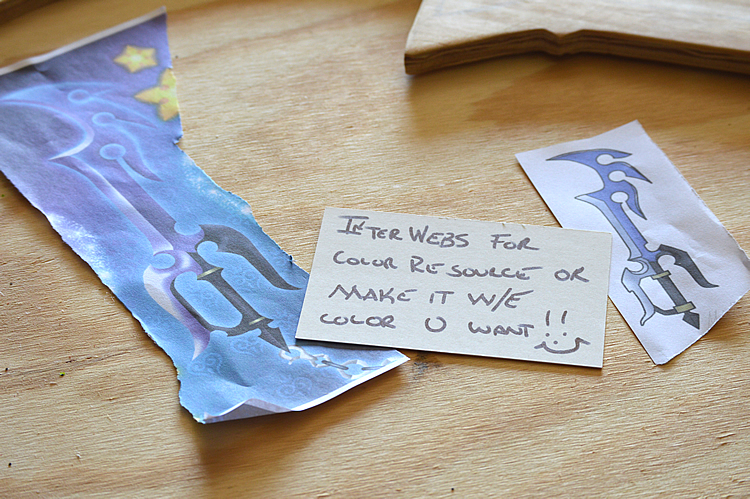
Eddie just finished his first glitter Keyblade. He found a great design on the internet and used it for shape and color inspiration.
Note: If using the internet for inspiration be sure not to sell your finished creation. Keep it and enjoy it for yourself.
Note: If using the internet for inspiration be sure not to sell your finished creation. Keep it and enjoy it for yourself.
He grabbed a sheet of plywood (1/2" or 3/4" is fine) and a jigsaw.
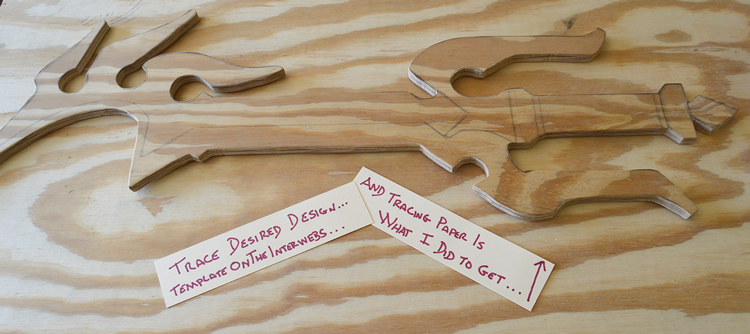
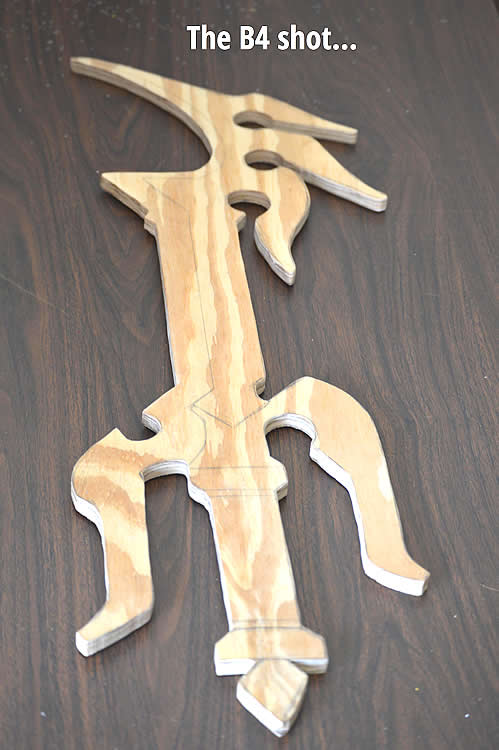
He drew out the design on tracing paper and transfered it to the plywood. Not only was the outline transferred, but the actual design where the different glitter colors will go. He then used a jigsaw to cut out the keyblade.
Close up of the Keyblade before it is decorated. At this stage, you can continue on or if you are really into woodworking you can take a router to the edges and round them or chamfer them for added interest. If you are really handy with a router you can also lay down some "trenches" where the inside lines are. Get a simple or as technical as you like and feel comfortable with.
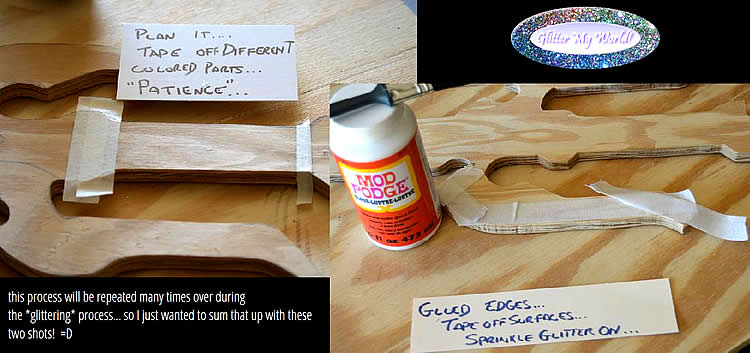
Eddie used masking tape to mask off the various sections of the Keyblade. This gave him very clean lines between the different glitters colors. He then got the glitter and Mod Podge ready for the next step. Note about masking: Removing the tape before the Mod Podge dries is recommended. If you wait until it dries you can sometimes tear the edge of the glue. Allow dry time between colors to keep your edges clean and colors distinct.
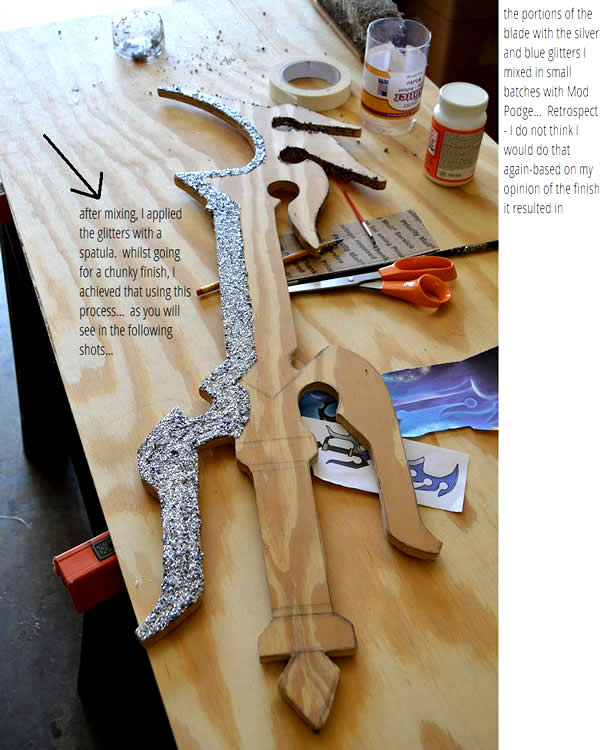
For the silver and blue glitter areas, Eddie mixed the Mod Podge with the silver craft glitter (chunky flake). He then applied the glitter/glue mix with a spatula. This lays a heavy layer of glitter down and gives it a textured finish. He really wanted a super sparkly look so he does not recommend this method to achieve that. For a super sparkly finish, it is best to lay down the Mod Podge and sprinkle the glitter on top. Even though Mod Podge dries glossy it does knock down the shine a bit when it is mixed in with glitter.
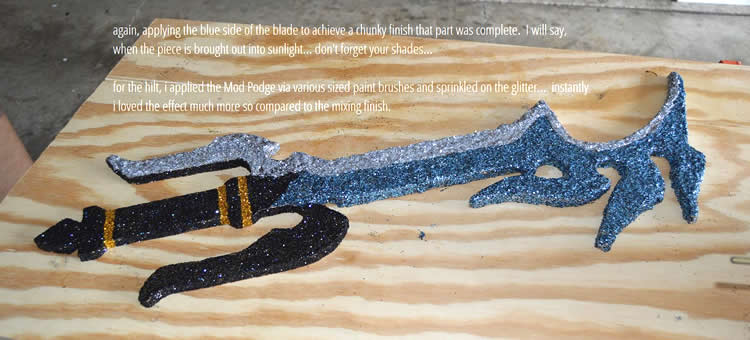
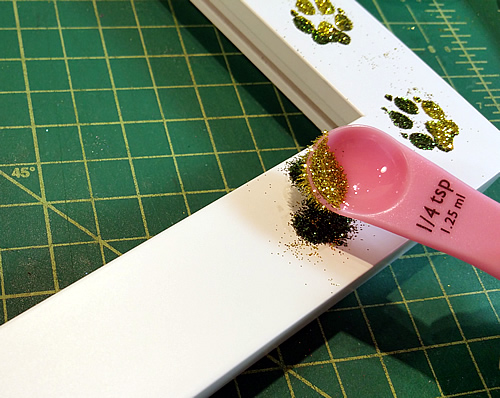
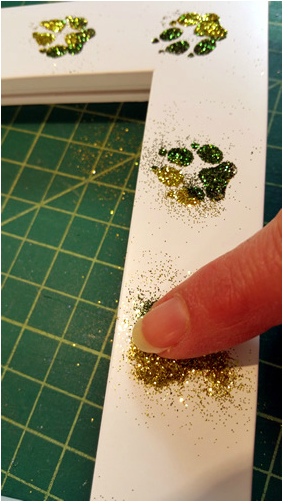
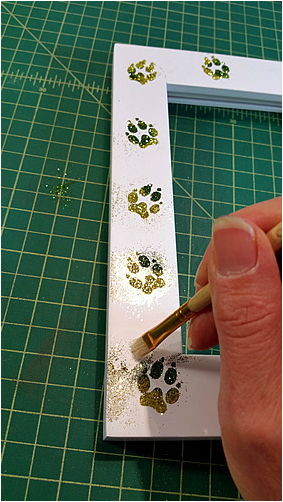
For the hilt he used the second method- Mod Podge brushed on with glitter sprinkled on top. The result on the hilt (black/gold area) is very sparkly. Outside in the sun, the entire Keyblade is very sparkly and looks great!
The Keyblade is ready for action.... or at least admiration!
The Keyblade is ready for action.... or at least admiration!
 RSS Feed
