No doubt you have heard and seen many versions of this great project. However, it seems that the entire focus appears to be on the glitter inside. Let's kick this cool project up to the next aesthetic level by focusing on "total look".
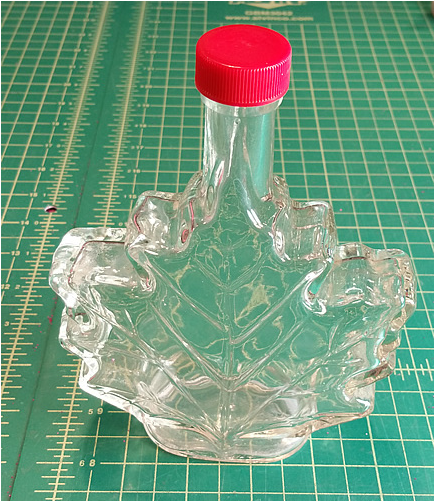
First, find a terrific bottle! They are all over the place and love to hang out at garage sales and thrift stores. This one used to have maple syrup in it.
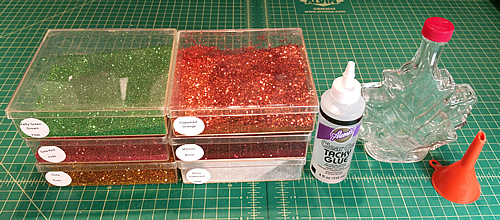
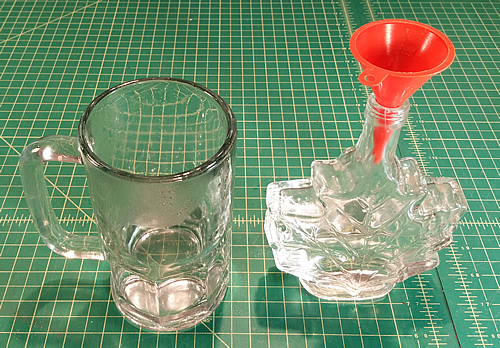
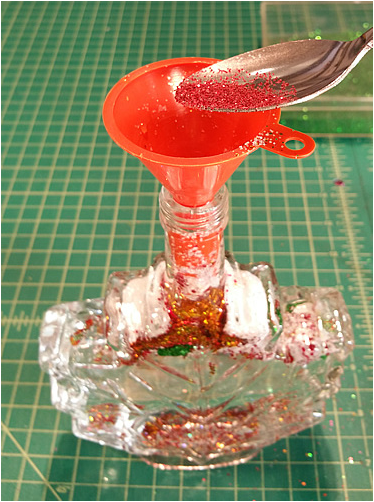
In this case, we used Craft Glitter, Aleene's Clear Tacky Glue, hot water and because the neck is so small, a funnel.
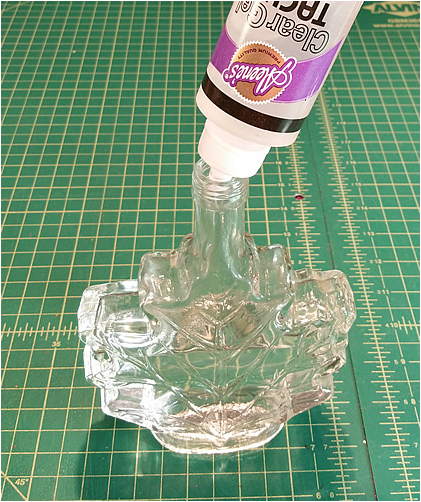
Step 1. Put the hot water into the bottle. At least half way up.
Step 2. Put the clear glue in. The more glue you use the slower the glitter falls. When you use larger flake craft glitter it tends to fall faster so a bit more glue will slow it down (if you want it slow).
Step 3. Since our bottle was leaf shape we went for Autumn colors: red, green, gold, maroon, copper and disco iridescent. The copper craft glitter bled into the liquid giving it a really nice orange color. If your glitter does not bleed (most polyester glitters will not bleed), you might want to add some food coloring to the liquid. Don't add too much or you will not be able to see your glitter! If you still have space in the bottle you should add more water or glue until it is filled all the way to the top.
Note: Many people like to add shapes like stars or different flake sizes and so on. It looks really interesting the more you have going on. In the case of this bottle, we wanted a really classy look so we kept it simple with half the colors in fine glitter 0.015 and the other half in chunky 0.040.
Tip: Making sure at least one of your glitters is iridescent is recommended. It really makes it pop!
Tip: If you bottle leaks then you might want to seal it with some clear silicone or one of the thick Goop glues that are out on the market.
Here is the finished product!
The above is a sand art bottle for kids. Rather than filling it with sand we used it for this project. Not only will kids love the glitter effect, but they will love the shape too! This one is filled with ultra fine polyester glitter- three metallics, two iridescents and chunky silver holographic. We used more glue in this one so it falls much slower.
Note: If you are not able to find these great bottles contact us and we can sell them to you. They come in lots of 12 for $12. They come in assorted shapes (princess, butterfly, rocketship, monkey, dinosaurs, sailing ship and more). These bottles do leak a bit so you will need to seal them very well. We used silicone and it was fine.
Note: If you are not able to find these great bottles contact us and we can sell them to you. They come in lots of 12 for $12. They come in assorted shapes (princess, butterfly, rocketship, monkey, dinosaurs, sailing ship and more). These bottles do leak a bit so you will need to seal them very well. We used silicone and it was fine.
 RSS Feed
